
Decorative Film for Home Staging (2025): The Complete Guide to Better Listing Photos
- Giwett

- 3 days ago
- 4 min read
Better Listing Photos Start With Cabinets, Not Cushions
This guide shows home stagers how to use decorative film for cabinets and vanities to get better listing photos in days—not weeks.That’s why more pros are choosing lamination decorative film (also searched as PVC decorative film, decorative vinyl wrap for cabinets, cabinet wrap film, self-adhesive film for kitchen cabinets, or decorative vinyl film) to create a clean, consistent “updated” finish—without demolition, strong odors, or long dry times.
In home staging, you can style the perfect rug, art, and lighting—and still lose the photo if cabinets look orange, doors look scuffed, or countertops read “dated.” On camera, those big, flat surfaces dominate the frame and amplify glare, scratches, and uneven color.
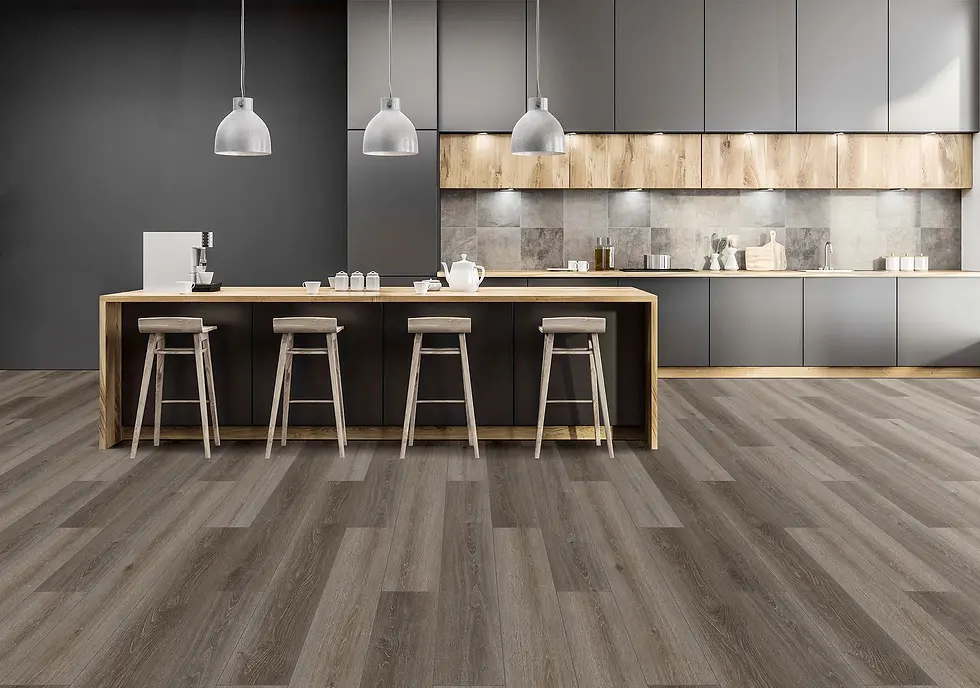
What Looks Expensive on Camera: Matte Finish + Consistent Texture + Modern Tone
To make staging look premium in photos, you’re not just covering a surface—you’re controlling glare, color cast, and visual uniformity. The most photo-friendly choices are usually matte or low-sheen, with tight, consistent grain that won’t sparkle under overhead lighting.
For example, a matte cabinet wrap film in light oak can neutralize yellow cabinets into a modern, warm tone, while a stone-look PVC lamination film can make a tired vanity top read cleaner in hero shots. If you’re staging an occupied home or rental, consider options positioned as removable decorative film for rentals (or at least repositionable during install), so you can work faster and reduce surface-risk.
Comparison Table: Best Decorative Film Choices for Staging Surfaces (Photo-First Picks)
Staging Surface | Recommended Finish | Photo Benefit | Skill / Time Estimate | Pro Tip for Results |
Kitchen cabinet doors | Matte / low-sheen | Reduces glare; looks “new build” | Beginner–Med / ~30–60 min per door | Wrap hero-facing doors first for speed |
Bathroom vanity | Matte stone | Cleaner, brighter “spa” look | Med / ~1–2 hrs vanity front | Seal edges carefully near splash zones |
Entry / interior doors | Satin-matte | Hides scuffs; boosts first impression | Med / ~1–2 hrs per side | Use a felt squeegee + sharp trimming |
Shelving / built-ins | Soft matte | Makes units look custom and styled | Beginner / ~30–90 min section | Choose subtle textures to avoid moiré on camera |
Countertop “visual refresh” (light use) | Matte stone | Makes dated tops look cleaner in photos | Med / ~1–3 hrs area | Focus on photo angles; avoid high-heat zones |
Accent panels (small areas) | Brushed / matte | Adds modern contrast | Beginner / ~20–40 min | Keep accents minimal—avoid visual noise |
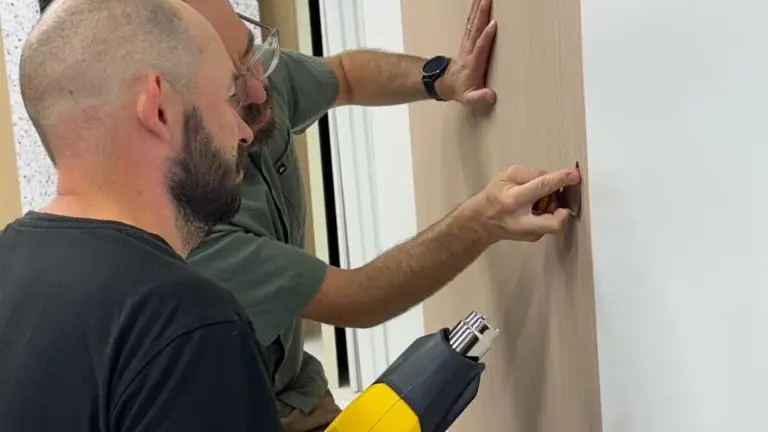
Mini Process: Bubble-Free Install Steps Stagers Actually Use
This is the fastest workflow for staging teams who need photo-ready results, not a full renovation:
Clean/degrease (especially around handles and cooking areas)
Measure + cut (leave a small margin for final trimming)
Hinge-side alignment (tack lightly, don’t commit too early)
Squeegee from center out (push air outward to prevent bubbles)
Heat + trim edges (gentle heat helps corners conform; trim cleanly)
Real staging example: A rental condo kitchen photographed “dark and dated” due to scratched espresso cabinets. The stager wrapped only the front-facing doors and visible side panels using a light oak decorative vinyl wrap for cabinets, then swapped hardware. The kitchen instantly looked brighter on camera, with smoother lines and lower glare—often the difference between “old” and “updated” in the first five listing photos.
FAQ: The “How” Questions Stagers Search Next
Can I apply decorative film to textured cabinet doors?
Sometimes—light texture may work, but deep grain, peeling laminate, or damaged MDF edges can cause lifting and telegraphing. Do a test patch on the most textured area first and prioritize smoother, flat-facing doors for the hero shots.
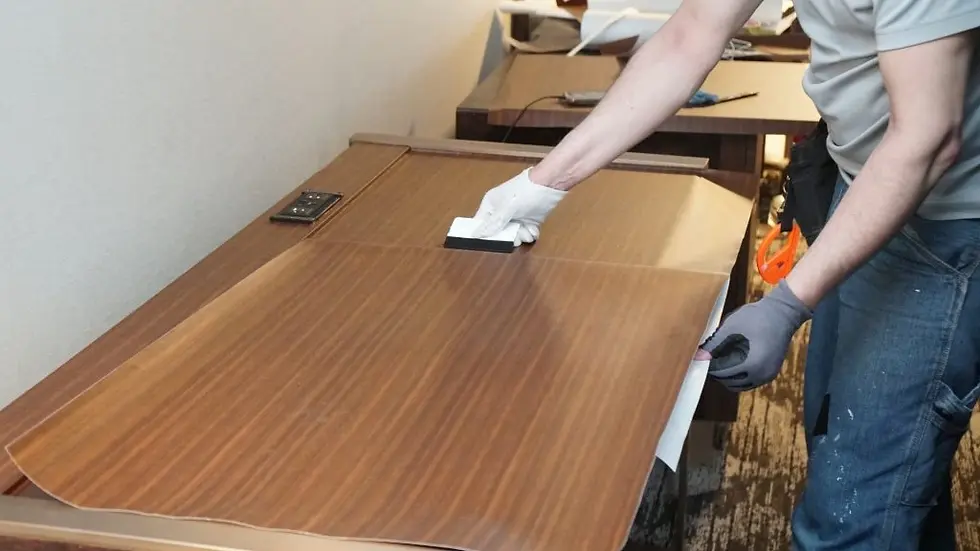
How do I prevent bubbles and edge lifting?
Most bubble issues come from dust/grease, rushing alignment, or trapping air. Clean thoroughly, apply slowly, and use a felt squeegee from the center outward. Edge lifting is usually solved by proper trimming + gentle heat to set the corners and edges.
How long does it last for showings?
For staging, the goal is to look great through photo day + open houses + showings. Choose films marketed for durability (scuff resistance, wipe-clean surfaces) and focus on good prep and edge finishing. High-traffic edges (near pulls, corners) need the most care.
How do I remove it without damage?
Removal depends on the substrate and adhesive type. In general, slow peel at a low angle, apply gentle heat, and clean residue with appropriate cleaners for the surface. If you’re staging rentals, look for solutions positioned as removable decorative film for rentals and always test on an inconspicuous corner.

Want a Photo-Ready Sample Kit for Your Next Staging Job?
If you’re a home stager, project buyer, or distributor sourcing lamination decorative film for fast, camera-friendly upgrades, we can help you choose the right self-adhesive film for kitchen cabinets by surface type, lighting, and finish goal (oak/stone/solid matte).
Request samples and specs today:
Email: support@giwett.com
WhatsApp/Phone: +86 15738309271
Ask for a sample kit with 3–5 photo-friendly finishes (wood/stone/solid matte) matched to staging lighting.
Tell us your surface (cabinets/doors/vanity/countertop) + project type (rental vs pre-sale), and we’ll recommend the best match.


Comments